I enjoy brewing. I like the science behind the transformation of starches and sugars into potent potable beverages. I got started in home brewing when my wife bought me a home brew beer kit. It was some type of pre-hopped amber ale. Thinking back, it might not have been very good, but to me it was better than anything I had had before. I was hooked. I made a couple of other kit and kilo beers and kind of lost interest in the beer because there wasn’t much to the type of brewing I was doing.
Also at the time that I started brewing, we were keeping bees. Bees meant honey. Lots of honey! If you have honey and some brewing equipment, then the next logical step is to make mead. Mead is an alcoholic beverage made with honey and water and allowed to ferment. It can range in strength from beer level to more wine like.
Well, with a little bit of research (and I mean little) I was off on my first batch. Let’s just say that what could go wrong, did. The mead turned out hot and solvent like. More like rocket fuel than anything you would drink.
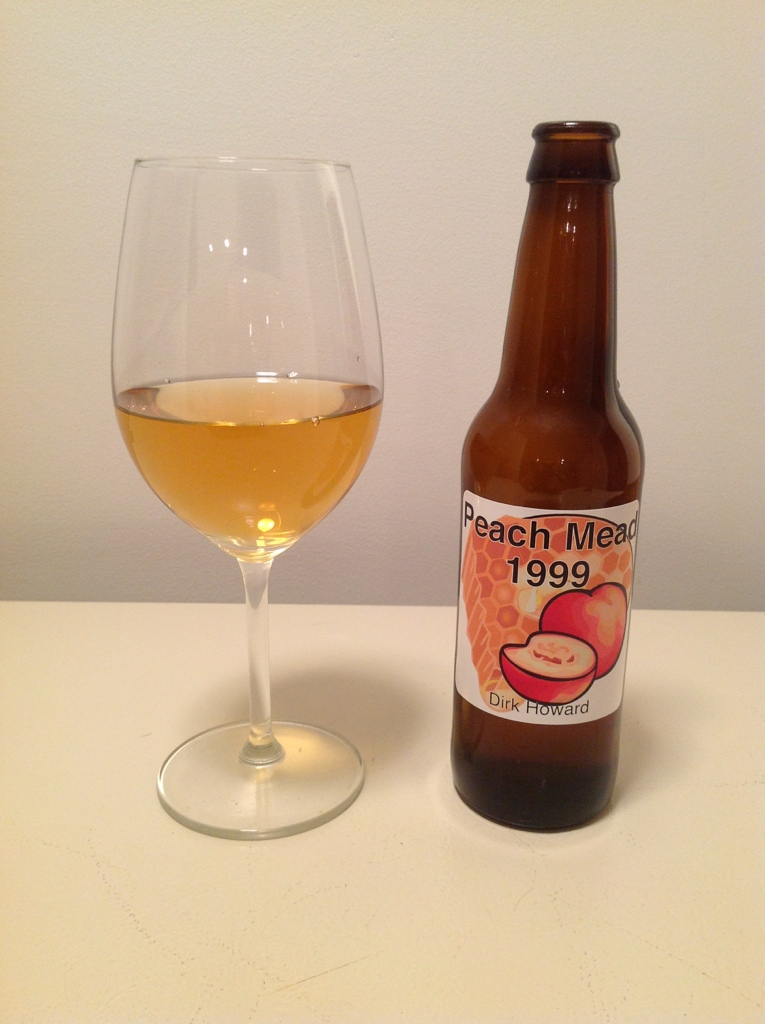
Later my wife helped me with a couple of melomel recipes. Melomel is a type of mead made with fruit other that apples (cyser) or grapes (pyment). One of the melomel batches was a peach mead. After primary fermentation, we tried it and it was like rocket fuel again, but there was something going on in the background. Maybe if I let it age, it will mellow. Well after two moves and 10 years later, this carboy of peach mead makes its way back to my notice. Oh my! Should I even taste this or should it just be a straight drain pour?
I’m glad that I decided to taste it, because what I found was a dry mead with with a crisp finish and a very subtle fruit flavor. If you didn’t know that the fruit was, it was a little hard to define. It was the flavor of a just picked peach with the warm juices running down your chin. It was not the cooked flavor of peach syrup or jam, but fresh peach. This mead was one of my entries into the Beehive Brew Off for 2011. It exceeded way beyond my expectations and it won first place. The notes I received from the judges were very encouraging and it was scored at 45/50.
Now that I know more about brewing science, I think I can make a drinkable mead in less that 10 years time. However this also goes to show that patience and time can be your friend. Or maybe it says that dummies sometimes get lucky.
Here is the recipe as best as I can remember.
Ingredients:
15+ lbs (246 oz) peaches, sliced and frozen
5 lbs honey
9 lbs sugar
8 campden tablets
2 Tablespoons acid blend
1 tbl yeast nutrient
1 tbl pectic enzyme
Cote des Blancs yeast
Directions:
- Mix the honey and sugar into 3 gallons of warm water along with the campden tables and other additives.
- Put the peach slices into a mesh bag and add to fermentor. Top off with water to 5-1/2 to 6 gallons. I don’t remember what the original gravity was, but I suspect that it was around 1.100 to 1.200.
- Let stand 24 hours to let campden tables work and to bring cellar temperature or to room temperature (maybe as high as 68° F).
- Add the Cote des Blancs yeast and set to ferment.
- Once primary fermentation has run its course, remove the mesh bag with the bulk of the peach pulp. You may want to let the bag drain for a while, or even press the bag to remove the remaining liquid.
- Set aside to allow the remaining pulp to settle to the bottom. You will end up with one to three inches of sediment at the bottom.
- Rack and age until you can get things to clear.
- Bulk age until the fusel alcohols have mellowed. Bottle and impress your friends.
This turned out well in the end, but I really consider it a happy accident. In the future I would do things differently. I would start with just water, honey and fresh or frozen peaches mashed or pureed. I would target a starting gravity of about 1.100 and I would ferment with a staggered yeast nutrient schedule (5 to 6 teaspoons yeast nutrient spread across three additions). I would choose a yeast that is not as prone to throwing off fusels, probably the Wyeast Dry Mead Yeast. I might try the Cote des Blancs again, but make sure the temperature was lower and the yeast nutrient was supplying enough nitrogen to give a healthy fermentation. I would also control my fermentation temperatures. I would keep things in the low 60’s. I would not add any acid blend until it is time to bottle and only if it is needed to brighten the flavor.
I hope that this helps someone in their mead making and not to give up hope on a rough mead.
Cheers!

